TAVI.01-XL

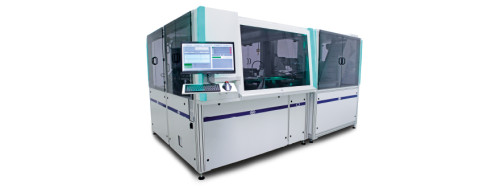
TAVI.01-XL is our fastest and most flexible single glass table inspection and sorting system. It is suited for the highly precise geometry and defect inspection of a broad range of part shapes made of rubber and plastics.
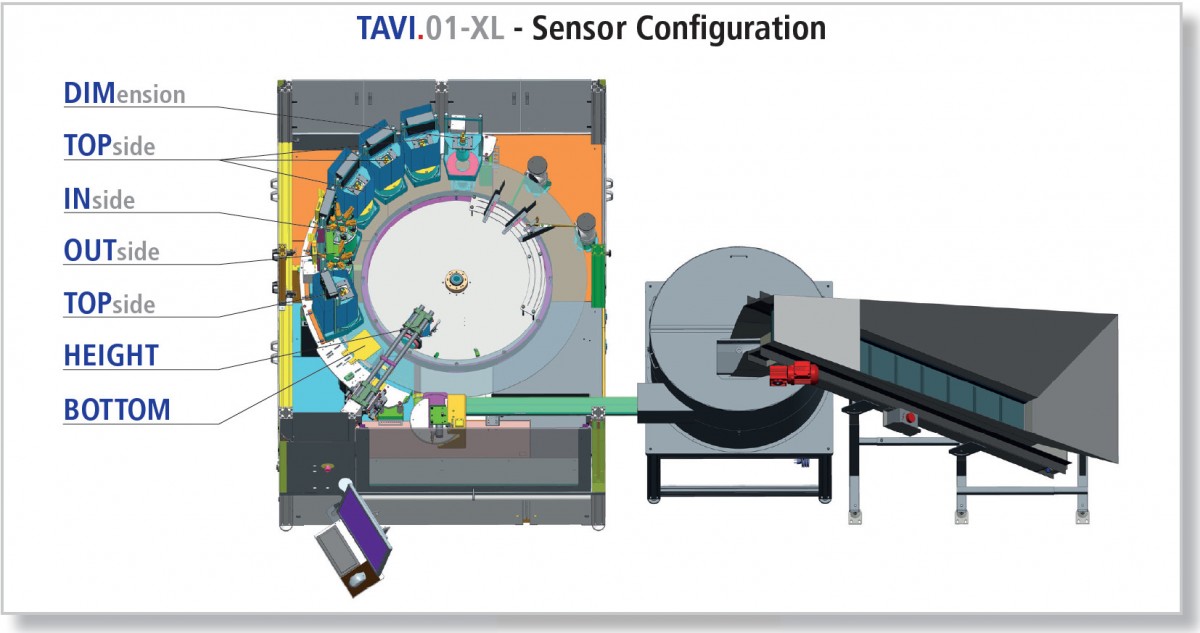
The parts are brought into the system by a feeding unit and are placed onto the rotating glass table. The upper part surface is inspected by different sensor units mounted above the glass table. These sensors are customized to meet each customer's specific inspection requirements. Inspection of the part's bottom side is carried through the glass table by sensors that are mounted below the table.
After inspection, the parts are classified and sorted according to customer's requirements into up to 16 sorting channels. For the automated handling and sorting of the parts we take special care of your part's material as to avoid damage to these parts.
Your Advantage with NELA:
NELA Brüder Neumeister distinguishes itself through a solid development and production expertise in the fields of mechanics, automation and image processing.

TAVI.01-XL can be equipped with a variety of different sensors, all with the accuracy of ± 1μm:
- DIMension uses transmitted light in combination with a telecentric lens to inspect the part dimensions
- TOPside defect detection on face sides and lateral surfaces
- BOTTOMside defect detection on face sides and lateral surfaces
- IN/OUTside multihead sensors for surface inspection
- HEIGHTinspection measures the exact height of the part with a telecentric lens
- 3Dconcheck contour measurement
TAVI.01-XL is suited for a broad range of round symmetric parts and other shapes that are made of rubber and plastic in different colors. These parts are typically used in many industries.
The part sizes that can be inspected in the TAVI.01-XL system range from 1,0 mm up to 120,0 mm (OD / diagonal).
The measurement accuracy is ± 1 µm and the throughput amounts to up to 100.000 parts per hour.
The field of application of this optical inspection and sorting system ranges from O-rings, frame seals and profile gaskets, precision molded articles of all shapes, rubber compound parts and membranes to injection molded parts and blanked parts made of plastic.
- Glass table-based inspection and sorting system
- Dimensional check and defect inspection on all surfaces (top, bottom, lateral)
- Equipped with up to 9 customer-specific sensor units
- Throughput up to 100.000 parts per hour
- Optimized for part sizes from OD 1mm - 120mm
- Measuring accuracy from ± 1μm
- Sorting of inspected parts into up to 16 sorting channels
- Robust machine design and use of high-quality technical components
- Powerful multi-core processors for very high inspection speeds
- Closed design for maximum cleanliness inside the inspection system; this is a requirement for many applications in the medical packaging industry
- Glass table calibration and temperature compensation for maximum measurement accuracy
Geometrical measurements on your rubber or plastics parts are carried out by high-resolution telecentric camera systems.
Measurement of dimensions such as height, diameter, wall thickness, cross section (O-rings), distances, depths and angularity of your parts is effected by our DIMension and HEIGHTmeasure sensor units.
For complex measuring tasks we also supply 3D-scanners.
The optical sensors in the TAVI.01-XL feature several illumination levels that are adjustable. Thanks to the optimized illumination, these sensors detect even the smalles surface defects on your rubber and plastics components. All camera systems used in the sensors are high-resolution and work with gray value differences.
The TOPside and BOTTOMside sensors allow for a targeted surface defect inspection on the face side of your parts, while the OUT and INside sensors assure a highly precise inspection of the lateral sides.
All sensors used in our systems have been developed by ourselves and guarantee a very high resolution of all sides of your parts. The sensors detect defects such as pores, holes, fissures, flashes, material contamination and flow lines.


